Winter Hike Safety in the Cascades: 7‑Item Checklist

Verify Trail Conditions with Real‑Time Data
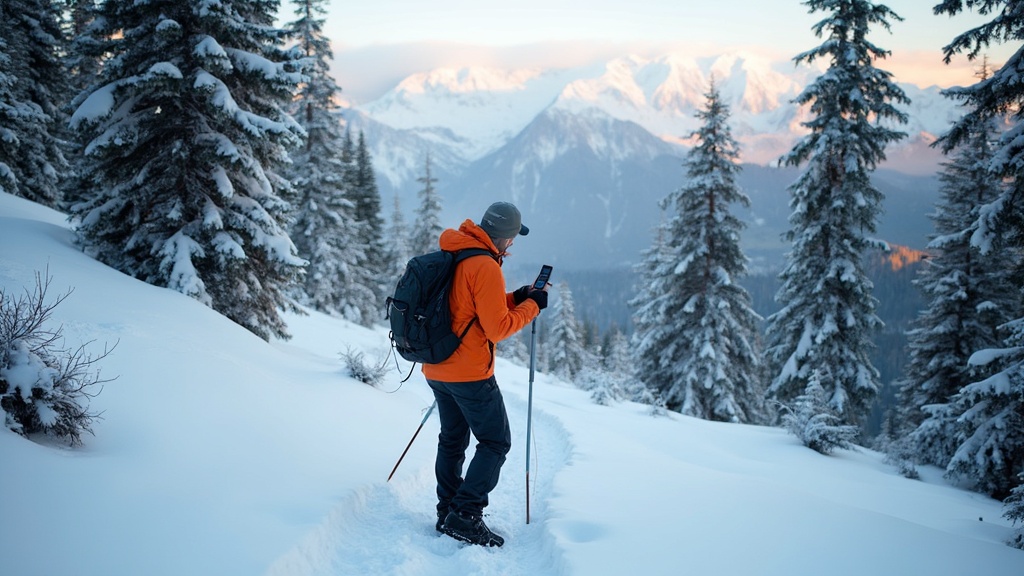
Pack a Redundant Navigation System
Layer for the Cold, Not the Heat
Secure Water in Sub‑Zero
Carry an Emergency Beacon
Check the Forecast Every Hour
Perform a Pre‑Hike Gear Audit
Hook
Ever slipped on ice and watched a trail turn into a white‑out? I’ve spent a decade fine‑tuning logistics for freight; the same precision applies when you step onto a snow‑packed Cascades trail.
Context
Winter in the Cascades isn’t just a pretty backdrop—it’s a moving target of snowpack, hidden creeks, and sudden wind chills. A single missed step can turn a day‑trip into a rescue call. This checklist gives you the exact, data‑backed actions I use before every cold‑season outing.
What you’ll need
- Layered clothing system (base, insulating, shell)
- Handheld GPS or smartphone with offline maps
- Emergency beacon or satellite messenger
- Hydration plan (water treated for sub‑zero)
- Trail‑specific weather forecast (National Weather Service)
7‑Item Winter Hike Safety Checklist
1. Verify Trail Conditions with Real‑Time Data
Before you lace up, check the latest real‑time washout alerts and snowpack reports from the US Forest Service. I log the exact mile‑marker where a washout was reported; that data lets me reroute before I even hit the trailhead.
2. Pack a Redundant Navigation System
Winter can obscure trail markers. I always carry a handheld GPS set to UTM coordinates plus a paper map with my pre‑plotted route. The redundancy eliminates the “I think I’m on the right path” gamble.
3. Layer for the Cold, Not the Heat
My rule: base‑layer, mid‑layer, shell, then a removable insulated jacket. Avoid cotton—once it’s damp, it becomes a heat sink. Test each layer on a short walk before committing to a full day.
4. Secure Water in Sub‑Zero
Water freezes fast. I store water in insulated bottles and add a pinch of non‑ionic electrolyte powder to lower the freezing point. A thermos with hot tea adds morale and a backup heat source.
5. Carry an Emergency Beacon
Cell service is spotty above 4,000 ft. A Garmin inReach Mini or an SPOT device ensures I can summon help even when the trail is invisible.
6. Check the Forecast Every Hour
Winter storms evolve fast. I pull the National Weather Service hourly grid for the last 12 hours and set a 30‑minute alert on my phone for any wind‑chill drop below 20 °F.
7. Perform a Pre‑Hike Gear Audit
Just like a freight manifest, I run a quick checklist: boots, crampons, gaiters, headlamp, extra batteries, first‑aid kit, and a multi‑tool. Anything missing stays at home—no “just grab it later” excuses.
Takeaway
Winter hiking in the Cascades isn’t a gamble; it’s a calculated operation. Follow this seven‑step checklist, log your data, and you’ll reduce the odds of a rescue call to near zero. Stay precise, stay safe, and let the trail data do the heavy lifting.
Related Reading
- How to Use Real‑Time Data to Dodge Cascades Washouts — deeper dive on data sources.
- Trail Condition Data Comparison — which source is most reliable.
- Planning a Safe Multi‑Day Spring Hike — logistics you can reuse in winter.
- Cascades Trail Washouts March 2026 — recent case study.