Determining if a Creek Crossing is Safe During Spring Meltoff

Is the water too deep to cross safely?
You’re standing at the edge of a nameless tributary in the North Cascades, and the water is a milky, churning turquoise—the telltale sign of heavy glacial melt. The trail continues on the other side, but the "bridge" is a slick, barkless hemlock log that’s halfway submerged. This isn't the time for a "gut feeling" or following an influencer’s highlight reel. You need a cold, logical assessment of the hydraulic pressure and your own physical limits before you take that first step. Getting this wrong doesn't just mean wet boots; it means an uncontrolled slide into a strainer or a log jam downstream. This post breaks down the technical logistics of managing stream crossings during the spring runoff so you don't end up as a statistic.
Depth logistics matter when your safety is on the line. If the water is above your knees, the force exerted on your legs increases exponentially. It’s basic physics—water is heavy. A general rule for solo hikers is to avoid anything deeper than mid-thigh, and even that’s pushing it in fast-moving sections. If you can’t see the bottom because of silt or "glacier flour," use a trekking pole to probe for depth and hidden holes. If the pole disappears and you haven't hit solid ground, turn around. There’s no shame in an "out and back" when the alternative is a Search and Rescue call. You have to remember that a stream at 8:00 AM might be six inches deeper by 4:00 PM as the sun melts more snow uphill.
Checking the flow rates is a step most people skip. In the Pacific Northwest, the USGS (United States Geological Survey) maintains a network of stream gauges that provide real-time data on discharge rates—measured in cubic feet per second. Before you even drive to the trailhead, check the USGS Water Data for the nearest drainage. If the graph shows a sharp vertical spike, it means recent rain or a heatwave is dumping massive amounts of meltwater into the system. It’s better to reschedule than to find yourself trapped on the wrong side of a rising river because you didn't look at the data. I’ve seen hikers ignore these charts and end up waiting three days for a creek to subside before they could return to their cars.
Where is the best place to cross a fast stream?
Don't just cross where the trail meets the water. Often, the trail ends at the most eroded, deepest part of the bank. Walk upstream or downstream to find a "braided" section where the creek splits into multiple shallower channels. You’re looking for the widest part of the stream bed because wide usually means shallow and slow. Avoid "chokepoints" where the water is forced between rocks; that’s where the velocity peaks. Look for a straight stretch—bends cause uneven depth and faster currents on the outer edge, also known as the "cut bank." You want boring, flat water, not the dramatic stuff that looks good on camera.
Reading the surface of the water tells you exactly what’s happening on the bottom. Look at the "v" shapes in the water. An upstream-pointing "V" usually indicates a rock or obstacle just below the surface. A downstream-pointing "V" often marks the deepest, fastest channel where the water is rushing between two objects. You want to stay away from the deep "V" and aim for the shallows where the water is "riffled"—meaning it’s breaking over rocks in a thin layer. If you see "pillows" of water mounded up over rocks, it means the current is hitting an obstacle and creating high-pressure zones you should stay away from. These are the details that separate a safe crossing from a disaster.
What gear helps with slippery river rocks?
Forget those flimsy flip-flops you brought for camp. If you’re committed to a wet crossing, you need footwear with actual grip. Sandals with a heel strap are the bare minimum, but honestly, keeping your boots on is often the smartest move for stability—wet socks are better than a broken ankle. Hypothermia is a bigger threat than soggy feet in the Cascades. Unbuckle your backpack’s waist belt and chest strap before you enter the water. It sounds counterintuitive, but if you fall, you need to be able to shed that 35-pound anchor instantly. If you’re pinned against a rock by the current with a strapped-on pack, you're in a fight you probably won't win.
When you’re in the water, move with a tripod stance. Use two trekking poles—or a very sturdy limb found on the bank—to maintain two points of contact at all times. Face upstream and lean slightly into the current. This keeps the water from pushing your knees out from under you. Move one foot at a time, feeling for a stable "pocket" between rocks before committing your weight. If the rocks feel like they're covered in axle grease—usually green algae—don't try to balance on top of them; try to wedge your feet into the gaps for a mechanical lock. Never cross your legs while moving; keep a wide, stable base like you’re operating heavy machinery.
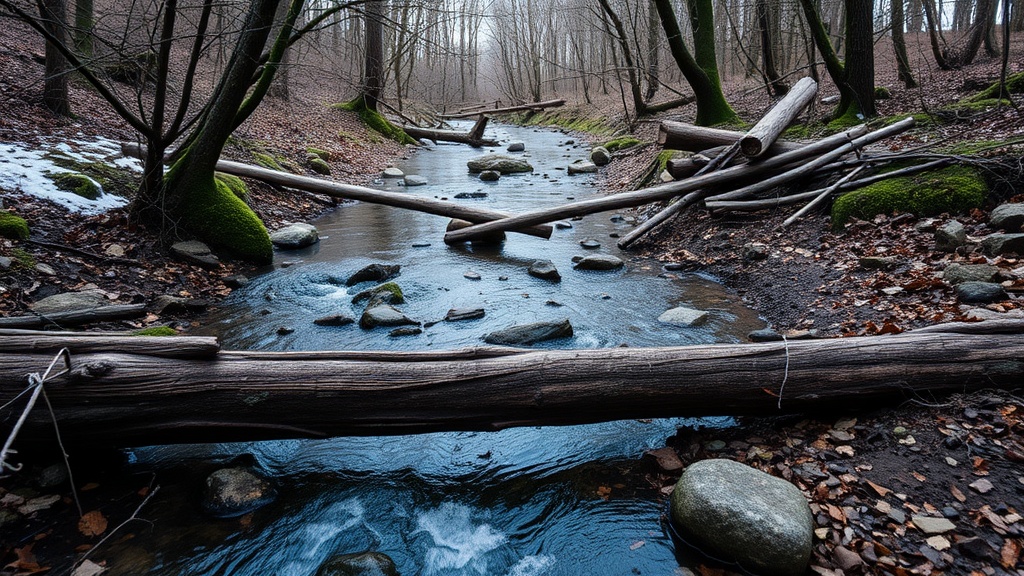
Strainers are the silent killers in mountain streams. A strainer is any downed tree or debris pile in the water that lets water through but traps solid objects—like you. If you fall and get swept toward a strainer, it's a lethal situation. The current will pin you against the branches and the weight of the water will hold you under. Always scout downstream before crossing. If there’s a pile of logs or a waterfall within 50 yards, the risk profile of that crossing just tripled. Find a different spot or wait until the morning when the flow might be lower. You can check more about US Forest Service safety guidelines for more details on identifying these hazards.
Consider the temperature. This isn't a heated pool. Water coming off a glacier is hovering just above freezing. Cold shock is a real physiological response that can cause you to gasp involuntarily—not great if your head is underwater. If the crossing is long, your muscles will start to go numb, stripping away your coordination. Speed isn't the goal; precision is. But don't dawdle in the middle if you're starting to lose feeling in your toes. Once you’re across, have a towel or spare socks ready to get your circulation back before you hike on. I’ve seen logistics-minded hikers pack a small dedicated "crossing kit" just for this purpose.
Team logistics can make or break a difficult crossing. If you're with a group, don't cross all at once. One person goes while the others stand downstream on the bank, ready with a throw rope or a long branch. The strongest hiker shouldn't necessarily go first; they should go where they can provide the most support. Sometimes that means being the "anchor" in a linked-arm crossing, where the group moves as a single, heavy unit to break the current for each other. You can find more safety protocols on the American Hiking Society website. Scout the exit point before you start—make sure there’s a clear path out of the water that doesn't involve climbing a vertical mud bank.